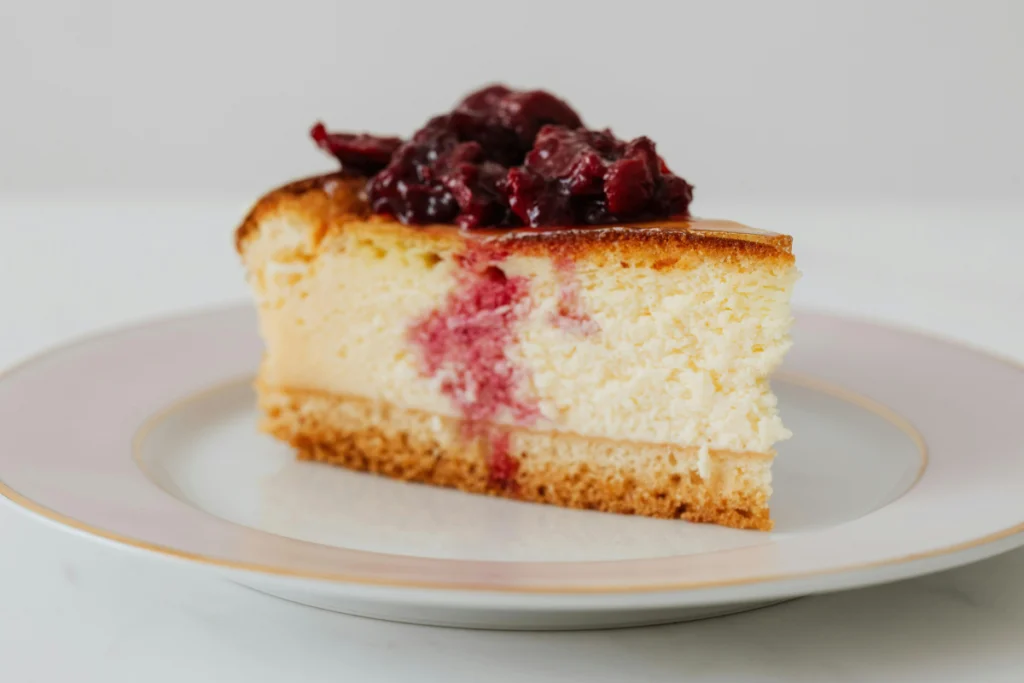
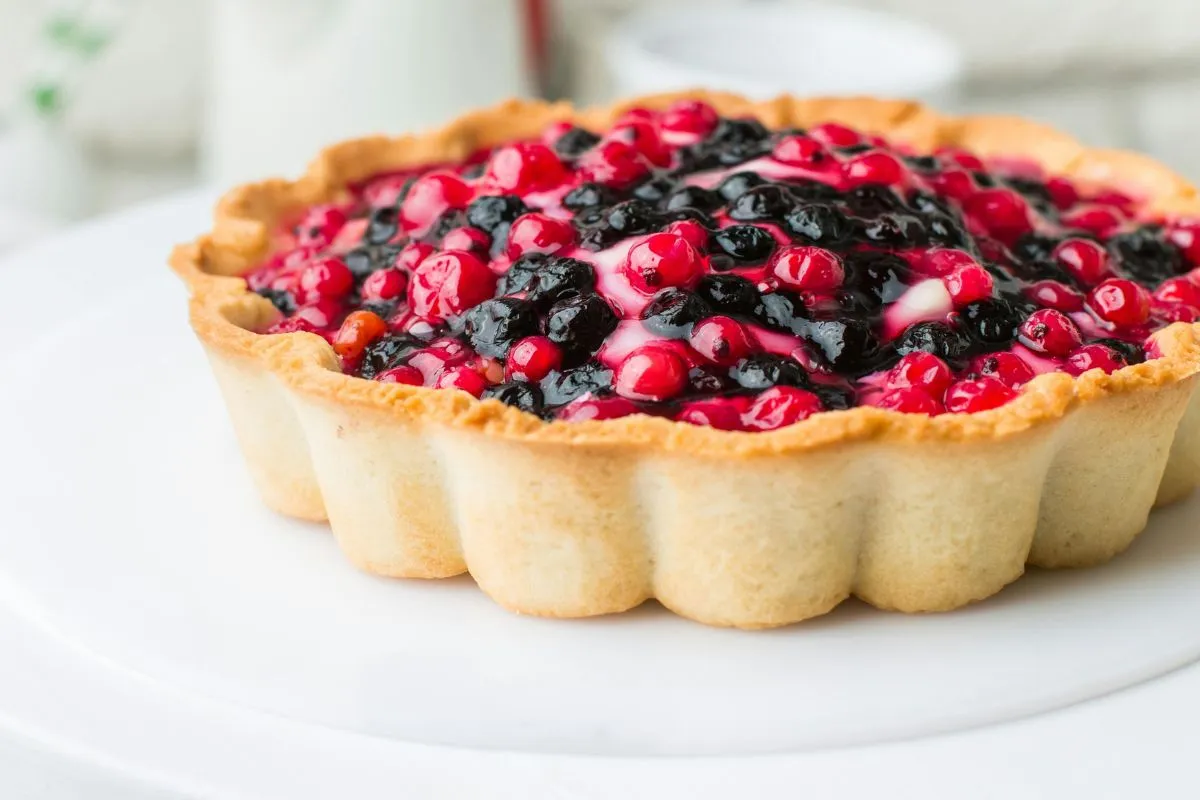
When it comes to desserts that balance sweetness and tanginess, few can rival the charm of a cherry tart. Whether hosting a gathering or simply indulging in a weekend baking project, this classic dessert offers a perfect blend of flavors and textures. In this guide, you’ll learn how to make a cherry tart recipe that is both simple and utterly delicious. From crafting the perfect crust to mastering the cherry filling, this recipe is your gateway to a dessert that’s as satisfying to make as it is to eat.
Table of Contents
What Makes a Cherry Tart Special?
A cherry tart stands out for its vibrant flavor, flaky crust, and ability to cater to various occasions. Unlike pies, tarts are open-faced, showcasing their rich, juicy filling. They’re less about excess and more about simplicity, which makes them perfect for anyone seeking a dessert that’s elegant yet approachable.
Here are a few reasons why a cherry tart recipe should be your next baking adventure:
- Showcase of Cherries: Whether fresh, frozen, or canned, cherries take center stage in this dessert. Their natural sweetness and tartness create a harmonious flavor.
- Beginner-Friendly: Tarts are simpler to assemble than you might think. With a few tips, even novice bakers can achieve stellar results.
- Versatile Dessert: Serve it warm with a dollop of whipped cream or chilled as a refreshing summer treat.
Ingredients for a Simple and Delicious Cherry Tart
You’ll need basic pantry staples and a few fresh ingredients to make this cherry tart recipe. Here’s a breakdown:
Essential Ingredients:
- For the Crust:
- 2 cups all-purpose flour
- 1/2 cup unsalted butter (cold)
- 1/4 cup granulated sugar
- 1 large egg
- 2-3 tablespoons ice water
- For the Filling:
- 4 cups pitted cherries (fresh or frozen)
- 3/4 cup granulated sugar
- 2 tablespoons cornstarch
- 1 tablespoon lemon juice
- 1 teaspoon vanilla extract
Optional Additions:
- A pinch of cinnamon for warmth.
- A sprinkle of almond extract to enhance the cherry flavor.
Pro Tip: If using frozen cherries, thaw and drain them thoroughly to avoid a watery filling.
How to Make the Perfect Tart Crust
The crust is the foundation of your cherry tart, and getting it right makes all the difference. Here’s a foolproof method:
- Combine Dry Ingredients: Whisk together the flour and sugar in a large bowl.
- Cut in Butter: Add cold, cubed butter to the flour mixture. Use a pastry cutter or your fingers to work the butter in until it resembles coarse crumbs.
- Add Wet Ingredients: Run an egg through a mixer and add it to the dough. Add ice water one tablespoon at a time until the dough holds together.
- Chill the Dough: Shape the dough into a disk, wrap it in plastic, and refrigerate for at least 30 minutes. This step ensures a flaky crust.
- Roll and Fit: Roll the chilled dough on a floured surface and gently transfer it to your tart pan. Press it into the edges and trim any excess.
Pro Tip: For an extra crisp crust, blind-bake it before adding the filling. Line the crust with parchment paper, fill with baking weights, and bake for 10-12 minutes at 375°F (190°C).
Preparing the Cherry Filling
The heart of your tart is the cherry filling. Follow these steps to create a luscious and flavorful center:
- Prepare the Cherries: If using fresh cherries, pit them using a cherry pitter. For canned or frozen cherries, drain them well.
- Cook the Filling: In a saucepan, combine cherries, sugar, cornstarch, and lemon juice. Stir the mixture often while cooking over medium heat until it gets thicker.
- Enhance the Flavor: Stir in vanilla and almond extracts for a flavor boost.
- Cool the Filling: Allow the filling to cool slightly before adding it to the crust to prevent sogginess.
Variations: Add other fruits like raspberries or blackberries for a mixed berry tart.
Assembling and Baking Your Cherry Tart
Once your crust and filling are ready, it’s time to bring it all together:
- Fill the Tart: Spoon the cherry filling into the prepared crust, spreading it evenly.
- Create a Design: Use leftover dough to create lattice strips or decorative cutouts for the top.
- Bake to Perfection: Bake the tart in a preheated oven at 375°F (190°C) for 25-30 minutes, or until the crust is golden and the filling is bubbling.
- Cool and Serve: Allow the tart to cool completely before serving. Pair it with whipped cream or vanilla ice cream for a delightful finish.
Pro Tip: Brush the crust with an egg wash (1 beaten egg with a tablespoon of milk) before baking for a glossy finish.

FAQs: Cherry Tart Recipe
Q: Can I use store-bought crust for this cherry tart recipe? A: Absolutely! While homemade crust adds a personal touch, a store-bought crust can save time and still deliver great results.
Q: What type of cherries work best for this recipe? A: Sweet cherries like Bing or tart cherries such as Montmorency work well. Adjust the sugar amount based on the cherry’s natural sweetness.
Q: How do I store leftover cherry tart? A: Store the tart in an airtight container in the refrigerator for up to 3 days. You can also freeze it for longer storage.
Q: Can I make this cherry tart gluten-free? A: Yes! Substitute all-purpose flour with a gluten-free baking mix designed for pastries.
Call to Action
Now that you have the ultimate guide to making a cherry tart, it’s time to roll up your sleeves and get baking! Share your creations with friends and family, or enjoy a slice with a cup of tea on a cozy afternoon. Don’t forget to share your cherry tart masterpieces on social media and tag us—we’d love to see your delicious results!
Happy baking!

